
This guide explains how to create a high-quality voice clone using XTTS v2 on Windows, with GPU acceleration (RTX 3060 Ti or similar), using Python + virtual environment.
✅ SYSTEM REQUIREMENTS
- Windows 10 / 11
- NVIDIA GPU (RTX 20/30/40 series)
- NVIDIA Driver installed
- CUDA supported GPU
- Python 3.10.x (important)
- Internet (for one-time model download)
📁 STEP 1: Create Project Folder
Create a folder anywhere (example: D drive):
D:\voice_clone
Open Command Prompt and move into it:
cd /d D:\voice_clone
🧪 STEP 2: Create & Activate Virtual Environment
python -m venv venv
venv\Scripts\activate
You should now see:
(venv) D:\voice_clone>
🔥 STEP 3: Install PyTorch (GPU – CUDA 11.8)
This is the correct and working combination for XTTS:
pip install torch==2.1.2 torchvision==0.16.2 torchaudio==2.1.2 --index-url https://download.pytorch.org/whl/cu118
⚠️ This download is large (2–3 GB). Let it finish fully.
PyTorch (GPU – CUDA 11.8) refers to using the PyTorch deep learning framework with NVIDIA GPU acceleration enabled through CUDA version 11.8. This setup allows neural networks to run computations on the GPU instead of the CPU, resulting in significantly faster performance for tasks like AI training, inference, voice cloning, and video processing. CUDA 11.8 ensures compatibility with modern NVIDIA GPUs such as the RTX 30 and 40 series, providing stable, optimized, and efficient parallel processing. Using PyTorch with CUDA enables real-time or near real-time AI workflows that would otherwise be slow or impractical on CPU-only systems.
🎤 STEP 4: Install XTTS (Coqui TTS)
pip install TTS==0.22.0 transformers==4.39.3
No hacks, no --no-deps, no downgrades.
XTTS (Coqui TTS) is a state-of-the-art multilingual voice cloning system that generates natural, expressive speech from text using a short reference audio sample. It supports zero-shot voice cloning, GPU acceleration, and multiple languages, delivering high-quality, human-like speech without training a custom model.
🧠 STEP 5: Verify GPU Is Working
python -c "import torch; print(torch.__version__); print(torch.cuda.is_available())"
Expected output:
2.1.2+cu118
True
🚀 STEP 6: Verify XTTS Loads Correctly
python -c "from TTS.api import TTS; TTS('tts_models/multilingual/multi-dataset/xtts_v2'); print('XTTS loaded')"
Expected:
XTTS loaded
(Model downloads automatically on first run.)
🎧 STEP 7: Prepare Voice Sample
Place a voice sample in the project folder:
D:\voice_clone\reference.wav
Reference audio guidelines
- WAV format
- 10–30 seconds
- Single speaker
- No background music
- Clear, natural speaking voice
📝 STEP 8: Create Voice Cloning Script
Create a file named clone.py inside D:\voice_clone
Paste this code exactly:
from TTS.api import TTS

tts = TTS(
    model_name="tts_models/multilingual/multi-dataset/xtts_v2",
    gpu=True
)

text = "Hello. This is my cloned voice generated using XTTS."

tts.tts_to_file(
    text=text,
    speaker_wav="reference.wav",
    language="en",
    file_path="output.wav"
)

print("Voice cloned successfully -> output.wav")
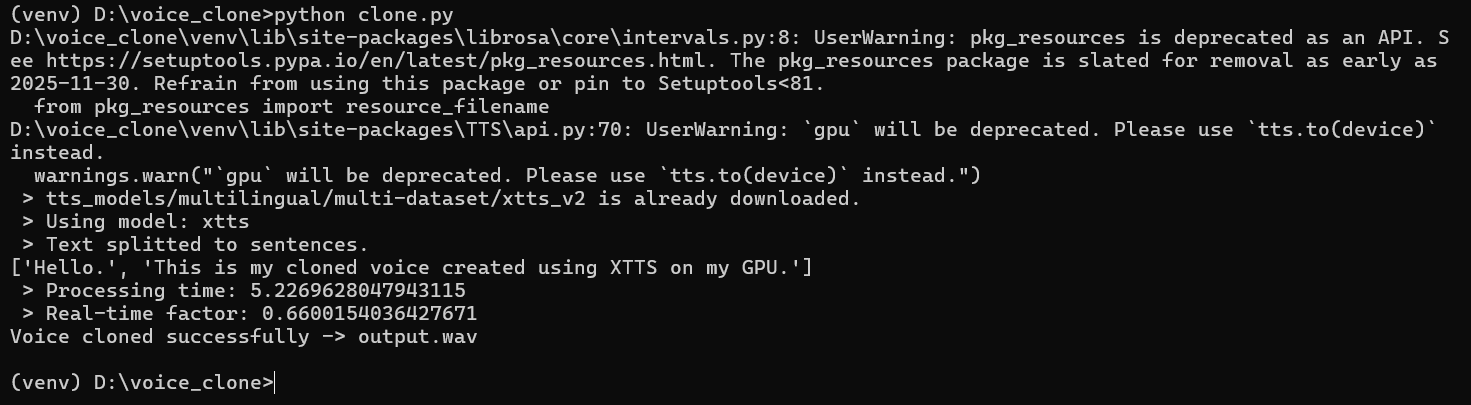
▶️ STEP 9: Generate Cloned Voice
Run:
python clone.py
✅ FINAL OUTPUT
A new file is created:
output.wav
🎧 This is your AI-cloned voice, generated on GPU.
⚡ PERFORMANCE NOTES
- RTX 3060 Ti: ~1–2 seconds per sentence
- GPU accelerated
- Supports multiple languages
- Much more natural than traditional TTS
- No training required (zero-shot cloning)
🔁 HOW TO USE AGAIN
- Change the
textinclone.py - Replace
reference.wavto clone another voice - Run
python clone.pyagain
🚫 IMPORTANT RULES (SAVE YOUR SANITY)
- ❌ Do NOT upgrade torch randomly
- ❌ Do NOT downgrade torch
- ❌ Do NOT mix old tutorials
- ✅ Always activate
(venv)first - ✅ Use Python 3.10 only
Got it 👍
Here’s the “next time” workflow, super simple — no reinstall, no confusion.
🔁 NEXT TIME YOU WANT TO CLONE ANOTHER AUDIO (FAST FLOW)
📍 Assumption
- Folder already exists:
D:\voice_clone venvalready created- XTTS already installed once (DONE)
✅ STEP 1: Open Command Prompt
cd /d D:\voice_clone

-- change drive letter and directory as per your folder
✅ STEP 2: Activate Virtual Environment (MANDATORY)
venv\Scripts\activate
You must see:
(venv) D:\voice_clone>
✅ STEP 3: Replace Reference Audio
Just replace or add a new audio file, for example:
reference2.wav
Rules stay the same:
- WAV
- 10–30 sec
- Clean voice
- Single speaker
✅ STEP 4: Edit clone.py (ONLY 2 LINES)
Change speaker file and text:
text = "This is a new sentence using a different voice sample."

tts.tts_to_file(
    text=text,
    speaker_wav="reference2.wav",
    language="en",
    file_path="output2.wav"
)
✅ STEP 5: Run
python clone.py
🎧 DONE
You get:
output2.wav
No downloads
No GPU recheck
No reinstall
No drama 😄
🧠 SUPER IMPORTANT REMEMBER THIS
Every new session = only 2 commands
cd /d D:\voice_clone
venv\Scripts\activate
Then:
python clone.py
⚡ OPTIONAL POWER MOVE (Multiple Audios)
You can keep files like:
reference_male.wav
reference_female.wav
reference_hindi.wav
And just switch this line:
speaker_wav="reference_hindi.wav"